Total: €0,00
Taxes and shipping calculated at checkout

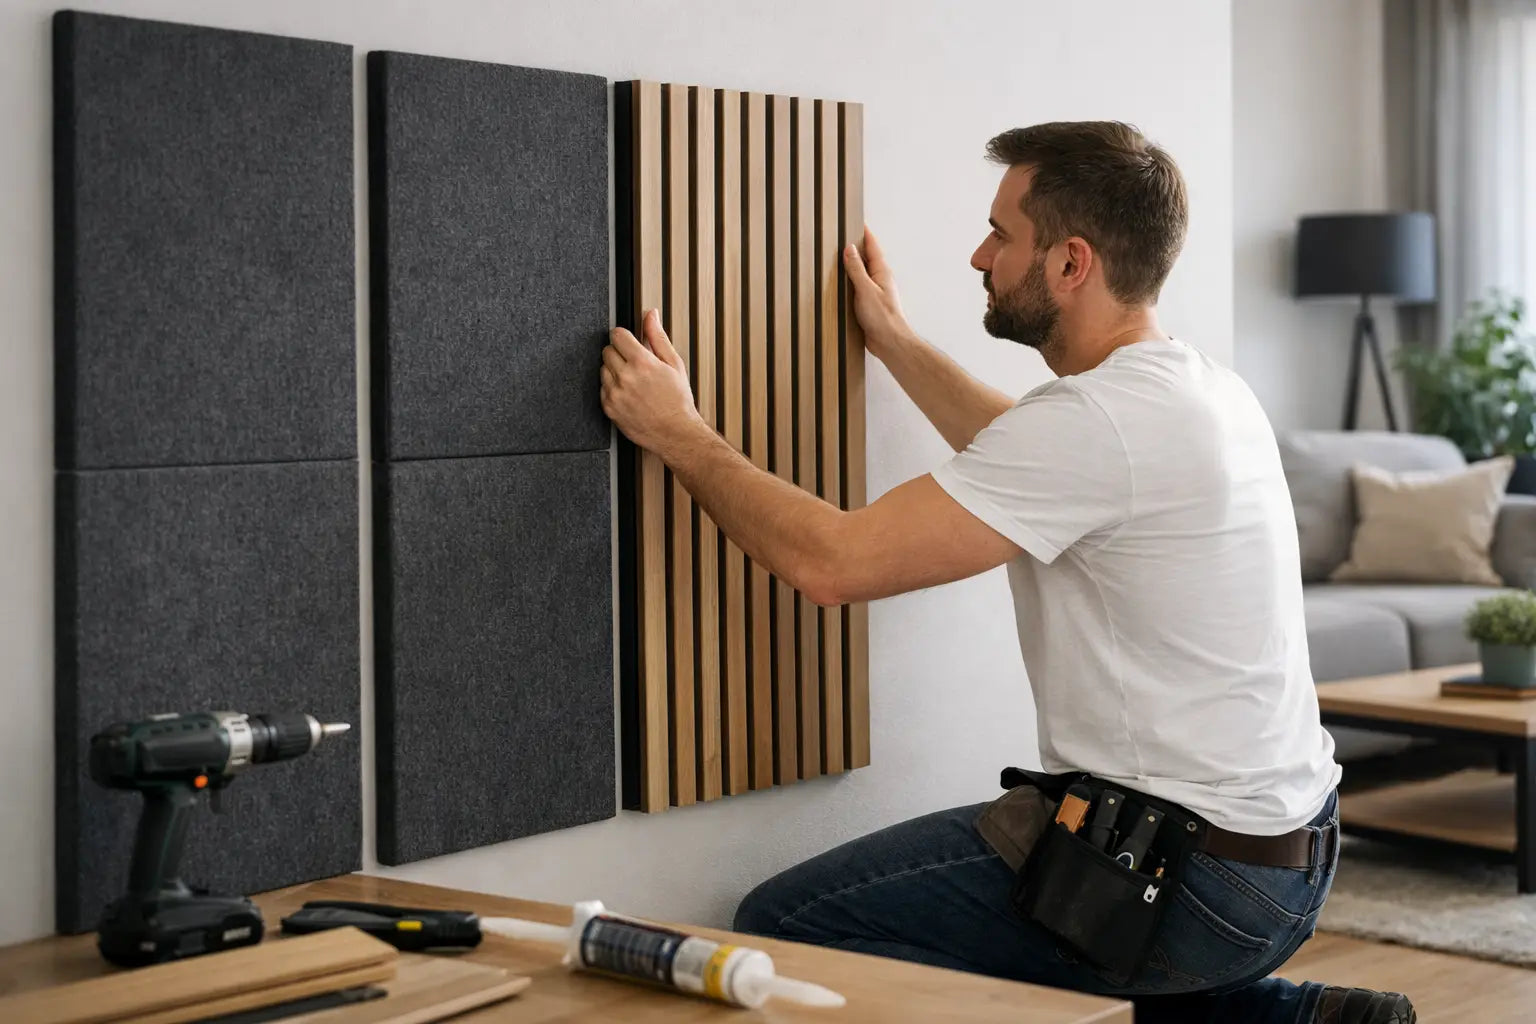
A bare, hard wall allows sound to echo through the room. You'll immediately notice conversations sounding less calm, a TV needing to be louder, and an unnecessary echo in your home office. Installing acoustic panels yourself is an accessible way to make that space sound more pleasant and, at the same time, add a warm, modern wall finish. With good preparation, you can achieve a result that looks sleek and remains tidy for years.
Acoustic wall panels primarily reduce reflections in a room. They don't eliminate all sounds and don't make a room completely soundproof. This distinction is important. Do you hear a lot of echo in a living room, stairwell, bedroom, or office? Then felt-based panels with wooden or wood-look slats will provide noticeably more peace.
Is the issue instead about noise from neighbors, traffic, or another floor? In that case, wall cladding alone is usually not enough. Sound insulation requires a heavier, decoupled construction in the wall, ceiling, or floor. For most interiors, however, acoustic wall cladding is about better acoustics, more comfort, and a strong visual finish.
Also, critically examine the space itself. A large open room with glass, a hard floor, and little textile requires more absorbent surface than a small bedroom with curtains, a rug, and upholstered furniture. Often, a single accent wall is enough to hear the difference.
The installation is straightforward, as long as you work with the correct substrate and fasteners. Beforehand, ensure you have a tape measure, pencil, spirit level or cross-line laser, fine saw, ruler, drill/driver, and suitable screws. For a stone or concrete wall, also use plugs and a drill suitable for the substrate.
If you want to mount panels directly to the wall, choose black screws that blend in as much as possible with the black acoustic felt. For a wooden framework, use wood screws. On a concrete or brick wall, plugs with screws are needed. Always check that there are no pipes running where you are drilling.
Adhesive can be a neat solution for a flat, load-bearing wall. But screws provide more security, especially for larger panels or slightly uneven walls. The best choice depends on the panel weight, the wall, and whether you want to be able to remove the finish later. In many cases, a combination of mounting adhesive and a few screws is the practical, sturdy solution.
Place the packaging in the room where you will be installing for at least 24 to 48 hours. This allows the materials to adjust to the temperature and humidity. This is especially advisable in new-build homes, rooms with underfloor heating, or rooms where humidity fluctuates greatly.
A beautiful panel wall doesn't start with cutting, but with measuring. Check that the wall is dry, clean, stable, and sufficiently flat. Loose wallpaper, peeling paint, or dusty surfaces reduce the adhesion of glue. Remove anything loose and make the wall dust- and grease-free.
Then measure the height and width in several places. Walls are rarely perfectly straight. Note the smallest measurement if you want to place panels across the full width. Also, determine where outlets, switches, radiators, and any baseboards are located. The sooner you include these details, the fewer surprises you'll encounter during installation.
Consider in advance how you want the wall to finish. Will you let the slats continue on both sides, install an end slat, or opt for a narrow edge in the wall color? A deliberate finish makes the difference between a loose decorative addition and an interior wall that truly feels like part of the space.
Usually start in a visible corner or in the middle of the wall, depending on the design. For a symmetrical TV wall or wall behind a bed, starting from the middle is often more aesthetically pleasing. This way, any narrow filler strips are distributed over both sides. For a wall that ends in a corner, starting on the outside is often the most practical.
Draw a perfectly vertical guideline with a laser or spirit level. Don't blindly trust a corner, ceiling, or baseboard. Especially in existing homes, these can be a few millimeters out of plumb. The first run determines the line of all subsequent panels.
Do not place the panel tightly clamped between the floor and ceiling. Leave a small expansion gap at the bottom, for example, 2 to 5 mm, which will later disappear behind the baseboard. For a tall or wide wall, a small gap at the top may also be wise.
This margin prevents tension when materials expand or contract minimally. Use spacers to keep the first panels at the same height. Especially on a floor that is not completely flat, this will result in a more even final appearance.
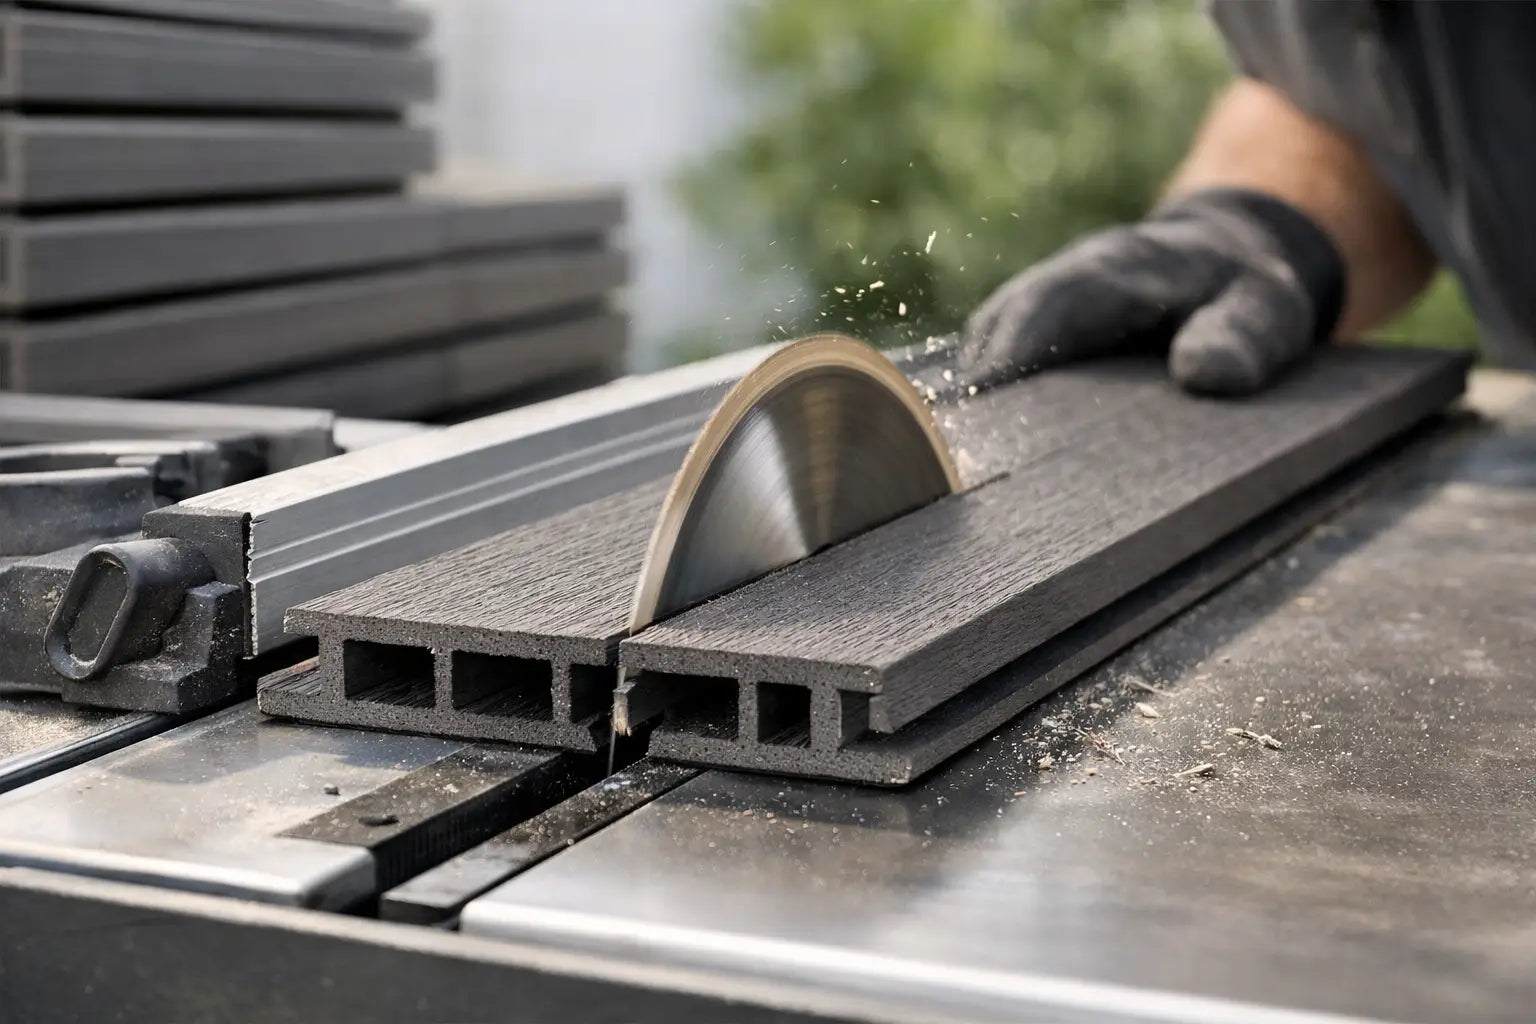
Measure each cut individually, even if multiple pieces appear identical. Mark the measurement on the felt and double-check before cutting. For straight cuts, a circular saw with a guide rail or a fine jigsaw works well. Choose a sharp saw blade for a clean edge.
If you're cutting through wooden slats, support the panel well so it doesn't vibrate. Work slowly when making cutouts for outlets. First, mark the opening, drill a pilot hole if necessary, and then cut out precisely. Always turn off the power to electrical outlets and only replace cover plates when the panel is fully secured.
Hold the panel against the guideline and check again with the spirit level. For gluing, apply mounting adhesive in vertical beads on the back. Avoid a fully closed adhesive surface: this makes correction more difficult and can limit drying. Press the panel evenly.
For screw mounting, screw through the black felt into the wall or framework. Distribute the screws over the height, with extra attention to the top and bottom. Tighten them enough to keep the panel stable, but not so hard that the felt dents or the slats become stressed.
Place the next panel tightly against the previous one and check the alignment before definitively securing it. The lamellas and gaps should visually continue. Small deviations become noticeable after three or four panels, so regularly check the vertical alignment.
With some panels, a subtle seam in the felt is visible. This is normal, but you can make it less noticeable by consistently working in the same direction and carefully aligning the slats. Ensure sufficient light during installation. Shadows reveal imperfections faster than you think.
The last strip is often the most critical in terms of measurement. Measure both top and bottom, as the wall may not be perfectly straight. Cut the strip to size and, if possible, orient the cut edge towards a less visible side. Around outlets, corners, and door frames, patience is more important than speed.
A baseboard, narrow trim strip, or caulk bead in a matching color can refine the transition to the floor or adjacent wall. Choose a subtle solution here. Acoustic panels already have sufficient appeal; excessive edge finishing is more likely to distract than to add anything.
Direct mounting saves space and is ideal when the wall is flat. It's the quick choice for a bedroom, hallway, or living room where the panels primarily need to function decoratively and acoustically. A framework is smarter for a very uneven wall, if you want to hide cables, or if you want to create extra absorption by leaving an air gap behind the panels.
A framework does take more time and makes the wall thicker. Use straight, dry battens and place them carefully level. Consider the position of outlets and door frames before you begin. For a TV wall, a framework is also useful if you want to integrate cables and connections invisibly.
For an extra acoustic effect, you can place absorbent material between the battens. This is especially interesting in larger spaces with many hard surfaces. Don't expect miracles from a thin layer of air alone, but the combination of felt, lamellas, and an absorbent back construction can clearly reduce reverberation further.
Starting too quickly without a baseline is the classic mistake. A few millimeters off at the beginning becomes a visible problem further along. Using unnecessarily large amounts of mounting adhesive is also not an advantage: it creates a mess, makes corrections difficult, and doesn't always provide more bearing capacity.
Another mistake is installing panels on a damp or unstable wall. First, solve any moisture problems and allow new plasterwork to dry completely. Not every acoustic panel is suitable for a bathroom or other very damp space. Always check the product specifications and ensure good ventilation.
Finally, don't forget the practical aspects. If you cover an outlet, the flush-mounted box must still be easily accessible and securely mounted after installation. And if you're mounting a heavy TV, wall cabinet, or coat rack? Do not attach it solely to the panel, but always to a load-bearing wall or a pre-installed, sturdy framework.
A panel wall requires little maintenance. Dust the slats and felt with a duster, soft brush, or vacuum cleaner with a brush attachment. For a stain, at most use a slightly damp cloth and test first in an inconspicuous area. Aggressive cleaners, abrasive sponges, and excessive water are not suitable for this finish.
The strength of acoustic panels lies precisely in the combination of comfort and appearance. Therefore, take your time for the initial baseline, choose a fastening method that suits your wall, and finish details carefully. Then, a hard, empty wall will transform into a quiet eye-catcher that you can enjoy every day.