index
Professional installation by our own team – from €69 per metre

Assembly service by WPC Solutions
Everything arranged correctly in one go

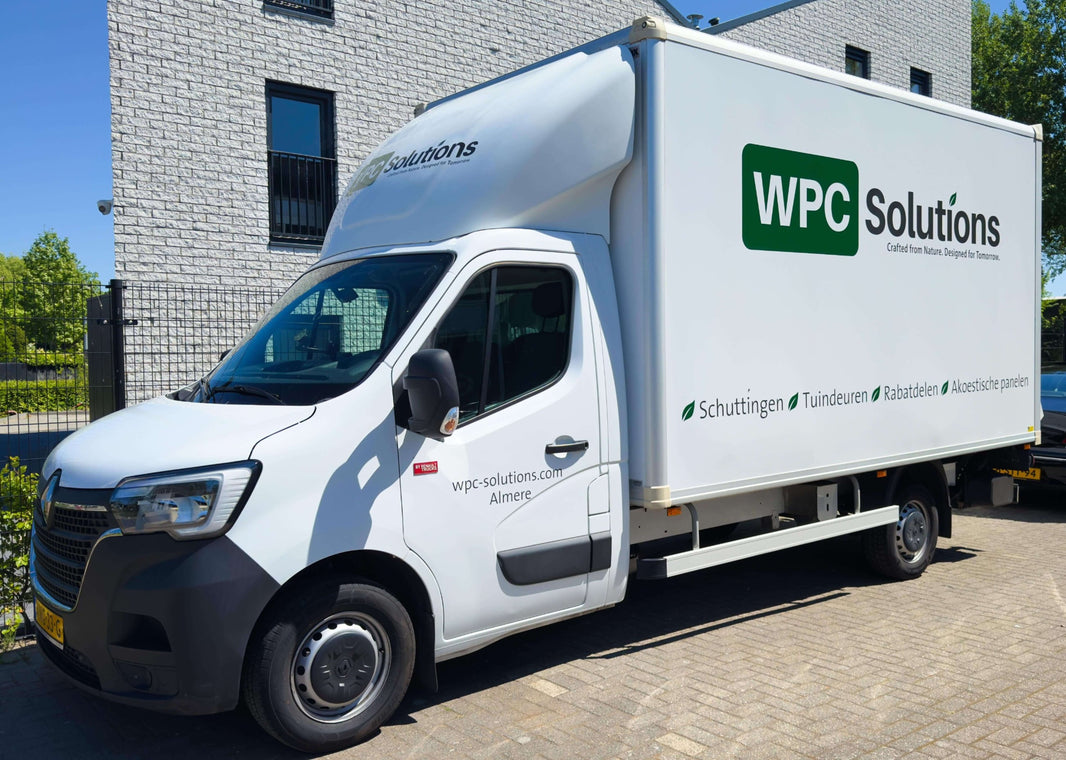
Have your composite fence, weatherboarding, or acoustic panels professionally installed by the experienced installation team at WPC Solutions. We offer a complete and hassle-free installation service as an optional extra with your order. Reliable, beautifully finished, and fully implemented in-house, so you can be sure of the best results.

From quotation to delivery: neatly executed by our own professionals

Our service doesn't stop at the front door

With our own installation team and distinctive service vehicles, we travel throughout the Netherlands daily to expertly install projects. Efficient, professional, and always exactly as agreed—that's the service we offer at WPC Solutions.

PLEASE NOTE! NEW INSTALLATION APPOINTMENTS WILL BE SCHEDULED FROM AUGUST

Why choose our installation service?

Experienced technicians who work with our materials on a daily basis

Installation from €89 per linear meter (including mounting material)

We will contact you within 24 hours of your order for scheduling.

One point of contact for product and installation, without any hassle

Including checking of dimensions, angles, substrate and finish

WPC Solutions vs Other Webshops

Professional installation

Fast delivery and installation

Measuring service

Fair prices

WPC Solutions

Other online stores

In-house Assembly Service

Warranty on both the products and installation

Garden measuring service

Remove old fence

Removal of old fence

Assembly instructions

Instructions for installing composite weatherboards as facade cladding (horizontally or vertically). Follow these steps for a sleek and durable finish.

Application: Facade cladding
Installation: Frame + ventilation cavity
Mounting: Stainless steel screws/system (if applicable)


1. Preparation

  • Check that the surface is flat, stable and dry .
  • Allow the weatherboards to acclimatise at the installation site for at least 24 hours .
  • Never mount directly onto the wall; always use a framework (batten structure) .
  • Take into account operation/expansion due to temperature differences.

Tip: Preferably work with a spirit level (starting line) so that the first plank is perfectly straight.


2. Requirements

Materials

  • Composite cladding
  • Mounting strips (wood or aluminum)
  • Stainless steel screws (suitable for outdoor use)
  • Finishing profiles (corner/stop/ventilation), if required


Tools

  • Tape measure & pencil
  • Spirit level
  • Cordless screwdriver
  • Saw with fine saw blade (cross-cut saw/circular saw)
  • Drill bit for pre-drilling (at the butt ends)


3. Installing framework


The framework provides strength and a ventilated cavity. Always install battens perpendicular to the direction of the weatherboarding.

Direction of the cladding Direction of the battens (framework) Horizontal Vertical Vertical Horizontal

  • Center-to-center distance of slats: maximum 40 cm .
  • Provide a ventilated cavity of at least 20 mm .
  • Leave space at the top and bottom for air circulation (possibly with a ventilation profile/mesh).

Note: Do not completely seal the cavity. Ventilation is necessary to prevent moisture problems.


4. Installing the weatherboards


4.1 Start (horizontal)

  1. Start at the bottom and place the first cladding piece perfectly level.
  2. Attach the cladding piece to each slat behind it.
  3. Do not screw too tight to allow the material to work.


4.2 Assembly (general)

  1. Allow an expansion space of ± 5 mm between parts and at connections.
  2. For end edges: always pre-drill to limit cracking/moving.
  3. Check regularly with a spirit level whether everything remains straight.

Practical: Use spacers to keep joints even everywhere.
Guideline value: 5 mm (or according to product specification).


5. Finishing

  • Finish outside corners with angle profiles or miter, depending on the desired look.
  • Use closing/starting profiles where necessary for a smooth final appearance.
  • Prevent the butt ends from being completely “closed in”: leave room for movement.
  • Distribute any seams symmetrically for a calm facade appearance.


6. Important points of attention

  • Preferably do not install below 5°C and not in extreme heat.
  • Dark colors generally expand more than light colors.
  • Use only stainless steel mounting materials for outdoor mounting.
  • Do not glue or clamp without expansion space.


Warning:
A non-ventilated installation (without cavity) can lead to warping, moisture build-up and a shorter lifespan.


7. Maintenance

  • Clean with water and a mild detergent.
  • Do not use harsh/chemical cleaners or abrasives.
  • Only use a high-pressure cleaner at a considerable distance and with care (do not spray “into” the joints).


Tip:
Cleaning once or twice a year is usually sufficient for a neat appearance.


© Assembly instructions for composite cladding.

Instructions for installing acoustic wall and ceiling panels with felt backing and wooden slats. Suitable for wall or ceiling mounting.

Application: Wall & ceiling
Mounting: Screws or glue
Surface: Stone, concrete, wood, plaster

1. Preparation

  • Check that the surface is flat, clean and dry .
  • Allow the panels to acclimatise in the room for at least 24 hours .
  • Determine the laying pattern in advance (vertical or horizontal).
  • Check the wall/ceiling for pipes or electrical wiring.

Tip: First place several panels loosely against the wall to check the pattern and connection.

2. Requirements

Materials

  • Acoustic panels
  • Black screws (for screw mounting)
  • Mounting adhesive (for glue mounting)
  • If necessary, insulation material (for extra sound absorption)

Tools

  • Tape measure & pencil
  • Spirit level
  • Cordless screwdriver
  • Saw (fine blade) or jigsaw
  • Stanley knife (for felt)

3. Mounting options

Method: Screw or Glue.
Suitable for: Walls & ceilings.
Note: Only on flat surface, most solid and recommended.

4. Mounting with screws (recommended)

  1. Place the first panel level against the wall.
  2. Screw through the black felt into the base.
  3. Use ± 6–9 screws per panel , evenly spaced.
  4. Work from left to right (or from bottom to top if on the ceiling).


Good to know:
The screws disappear optically into the black felt and remain virtually invisible.

5. Mounting with glue

  1. Apply mounting adhesive in vertical grooves on the back.
  2. Press the panel firmly against the wall.
  3. Check immediately whether the panel is hanging straight.
  4. Allow the adhesive to cure completely according to the manufacturer's instructions.


Please note:
Glue mounting is not suitable for uneven walls or ceilings.

6. Sawing and adjusting

  • Sawing slats with a saw with a fine blade.
  • Easily cut felt to size with a Stanley knife.
  • Always saw on the visible side for a smooth result.

7. Maintenance

  • Remove dust with a soft brush or vacuum cleaner.
  • No wet cleaning or aggressive cleaning agents.
  • Avoid prolonged exposure to moisture.

© Installation instructions for acoustic panels - WPC Solutions - All Rights Reserved

Prices include standard mounting and finishing. Excluding customization, groundwork or drainage. The exact price is determined by location and requirements.

How does it work?

1. Order your product(s) via our webshop

2. Please indicate when making your request or order that you want the materials installed.

3. We will contact you within 1 working day

4. Our team will come and install everything professionally on the agreed day

Customised & Complex SituationsWe think along with you

No garden or wall is the same. That is why, in addition to standard installation, we also provide custom solutions – perfectly tailored to your situation.

What do we mean by customization?

- Placement on a sloping surface or embankment

- Corner constructions (e.g. L- or U-shape)

- Shortened panels or custom lengths

- Mounting against existing structures or walls Installation of doors, lighting or accessories

- Placement over old foundations or obstacles

-Specific height requirements or combination with concrete edging

Our fitters will look with you on site at what fits best technically and aesthetically. Where necessary, we will make a measurement appointment in advance and you will receive a customized quote with clear explanation.

No surprises afterwards

We like clarity. That's why we coordinate every custom project with you in advance, so that you know exactly what to expect - in terms of planning, price and result.

Need a quote or customization?

Let us know your preferences, dimensions and location, and we'll do the rest.

Get everything done right the first time with the installation service from WPC Solutions.